The Well of the Shattered Beams

Within the crumbling walls of an ancient fortress lies a mysterious site known as the Well of the Shattered Beams, a stronghold long abandoned and thought cursed by the locals. It was once the site of innovative experiments conducted by a long-lost civilization, delving into the mysterious powers of light and shadow. However, a cataclysmic event shattered both the citadel and its brilliant ambitions, leaving behind flickering echoes of its former grandeur. Now, it serves as a testing ground for adventurers who dare to explore its dimly lit halls, haunted by the remnants of tragic ambition and bizarre inventions. Will the shallows of madness claim new victims, or will the intrepid adventurers harness the lingering energies that flicker amid the broken beams?
Room Descriptions
Room 1: The Hall of Echoes
A long corridor stretches before you, lined with cracked stone walls adorned with faded murals that depict scenes of scientific exploration and triumph. The air is thick with the scent of dust and age. As you step in, the sound of your footsteps seems to amplify unnaturally, creating an unsettling echo.
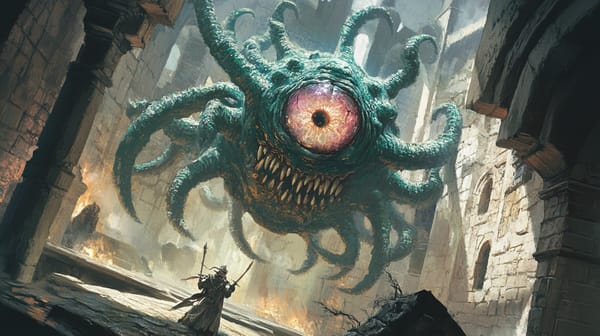
- Monsters/Traps: At the far end, a Shattered Atlas Golem lies dormant, its body a mix of shimmering crystal and broken stone, activated by noise.
- Treasure: A Telescope of Transparent Doom, allowing the user to see one hour into the future at a cost of one point of sanity.
Room 2: The Chamber of Sundered Glass
This room is filled with fractured glass remnants of various sizes, reflecting flickering light in a colorful display. The remnants shift slightly, as if alive, and each step kicks up small clouds of sparkling dust.
- Traps: Hidden pressures trigger a Glass Burst Trap, which explodes with shards if more than two people enter at once.
- Treasure: A Dust Crystal worth 300gp, known to enhance magical effects when used in spellcasting rituals.
Room 3: The Lab of Lost Sentience
Cautiously entering this lab, you find strange equipment scattered throughout. Tables are cluttered with tubing and devices, some pulsing with glowing energy. A flickering holographic log plays in the background, revealing monologues from a long-gone researcher lamenting his failed experiments.
- Monsters/Traps: A Maddened Construct (animated mechanical servant) attacks intruders, mistaking them for its former master.
- Treasure: An Elapsed Time Device, a small clock that can freeze time for five seconds once per day.
Room 4: The Gallery of Horrors
Artworks depicting nightmares cover the walls, mesmerizing and horrifying viewers. The paintings seem to shift and change as you gaze upon them, evoking fear and panic.
- Monsters/Traps: Nightmare Spirits dance in the corners of the room, attempting to invade the minds of intruders.
- Treasure: A Book of Phantoms, containing spells to summon illusions once per long rest.
Room 5: The Great Observatory
Upon entering, you see a massive dome-like structure with fragments of glass and starlight illuminating the room. A colossal telescope points toward the darkest reaches of the cosmos, humming softly.
- Monsters: A Celestial Sentry guards this space, angered by intruders’ lack of reverence.
- Treasure: A Celestial Map, directing the user to hidden stars and portals for 500gp, as well as a Starshard Amulet, granting a +1 to intelligence checks.
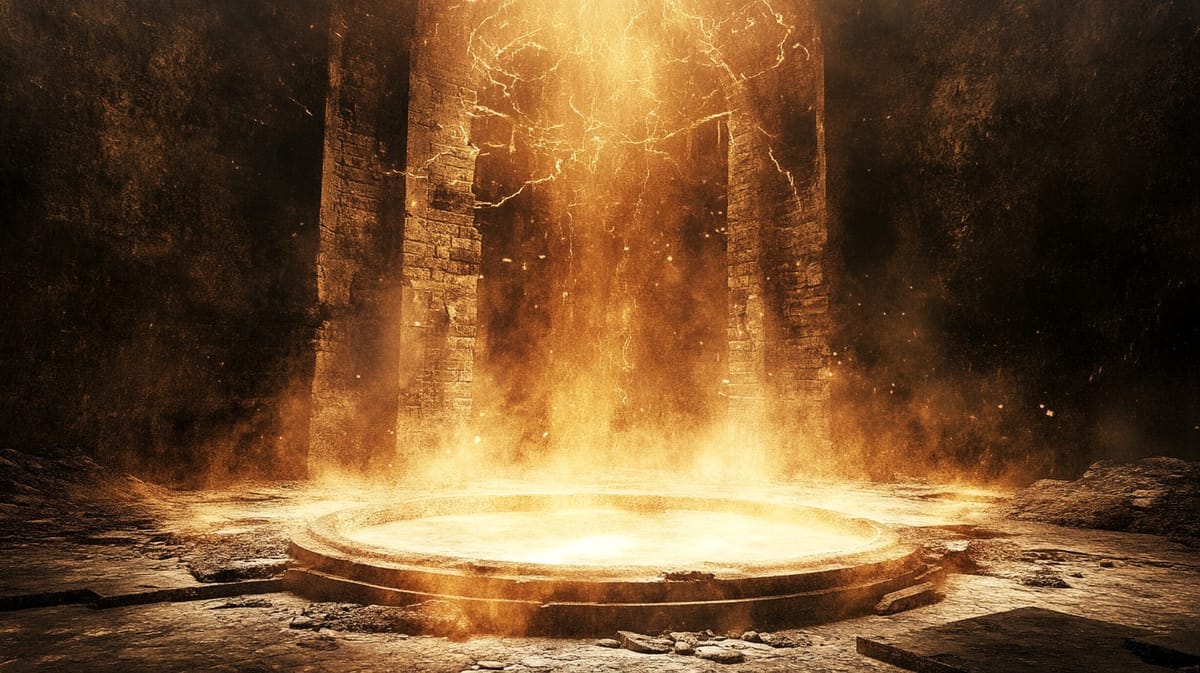
Room 6: The Engine of Possibilities
You stumble upon what appears to be the heart of this lost citadel: a whirring machine, its cogs forming celestial patterns. The air is charged with vibrant energy, and it feels like the very fabric of reality is thin here.
- Traps: An Energy Surge Floor Trap activates when anyone steps on a specifically marked tile, causing a shock.
- NPC Party: A group of renegade researchers, the Seekers of Knowledge, attempt to repair the machine and will engage in dialog about its potential.
- Treasure: An Empowered Lens, enhancing vision and unlocking encrypted documents, allows the reader to understand any written language for a price of 10gp.
Room 7: The Vault of Shadows
Dim light greets you as you enter. The room is more like a vault, with shelves full of dark artifacts and items pulsing with an unknown energy.
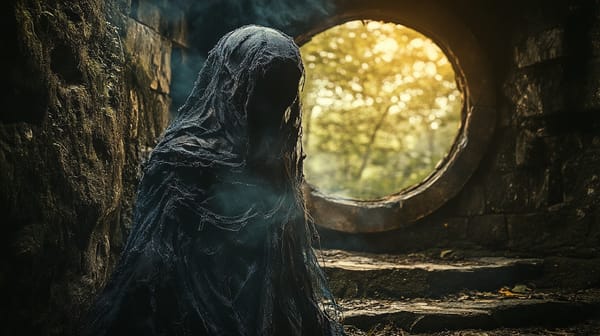
- Monsters: The Shadow Wraiths emerge from the darkness, but they’re hauntingly powerful and swift.
- Treasure: A Cloak of Shadows, allowing one to meld into darkness and become almost invisible once per encounter, lies stored here with a collection of bizarre relics.
Room 8: The Transcendence Chamber
A circular room, at the center stands a bizarre altar surrounded by eerie glyphs. The atmosphere here is heavy with a sense of reverence and anxiety.
- Traps: The Glyph of Transmutation Trap, if triggered, will transform the person into a harmless animal for one hour.
- Treasure: A Phoenix Feather, capable of resurrecting a creature once when held, found prominently displayed at the altar.
Room 9: The Endless Archive
Every wall is lined with bookshelves, filled with books of knowledge, some whispered to contain the secrets of creation. A peculiar stillness hangs in the air.
- Monsters/Traps: Animated Books swarm to protect their secrets if someone tries to remove a tome without permission.
- Treasure: A Scroll of Knowing, granting insight into a single question guided by fate, along with enchanted tomes filled with spells not found elsewhere.
Room 10: The Broken Bridge
Finally, you reach a rickety, half-collapsed bridge spanning a gap where floors have long since vanished. It seems to hang in space, twisting and turning unexpectedly.
- Traps: The Phantom Stirrings Trap, which causes the bridge to sway and elude anyone who steps cautiously.
- Treasure: An Ancient Key, rumored to unlock any one door in the citadel.
Conclusion
As the Well of the Shattered Beams unfolds, judges can expand or adapt its narrative by linking it with larger campaigns, weaving tales of the civilization behind the citadel's grand ambition, or exploring the cosmic consequences of their experiments. The lingering energies and artifacts can serve as hooks for future quests, and additional neighboring ruins can hint at the other calamities faced by this lost realm. Incorporate encounters with fanatic cultists, rival factions pursuing the same artifacts, or even a growing darkness threatening to escape from the depths. Tailor the difficulty of each room’s challenges and treasures to suit the characters’ levels and engage them in a richly woven narrative, ensuring each player leaves with tales of their own heroic journey through the depths of the citadel.