The Obsidian Crypts of Tarak-Maru

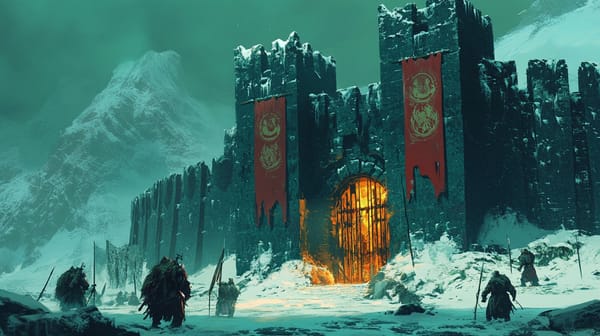
In the shadow of the towering peak of the Luraz Crest lies the forgotten domain of Tarak-Maru, an ancient dwarven city now buried under countless tons of rock and shadow. This once-great bastion of civilization has succumbed to the darkness of greed and ambition, the walls now echoing with the lamentations of spirits wronged. The Obsidian Crypts, the remnants of Tarak-Maru’s once-majestic catacombs, harbor secrets from an age long past, artifacts of forgotten kings, and horrors conceived in the depths of despair. Adventurers stumble into this forsaken place seeking the famed Obsidian Scepter of Bastor, a mythical artifact said to grant dominion over shadow itself. However, they must navigate a labyrinth of intricately trapped chambers and confront both the restless spirits of the dwarven clan and the monstrous denizens who now call the crypt their home.
Room Descriptions
1. The Entrance Hall
Description: As the ancient stone door creaks open, a gust of cold air rushes past, carrying the scent of dust and decay. The chamber is adorned with crumbling reliefs depicting dwarven warriors, their valiantly encased forms now fading. The ceiling is lost to shadow, yet shards of obsidian glisten like stars in the gloom, hinting at the dark path ahead.
- Monsters/Traps: No encounters here; however, a hidden pressure plate activates a shrapnel trap that fires obsidian shards at any who step too boldly.
- Treasure: A gold-plated key hangs from a chain attached to a crumbling stone statue.
2. The Hall of Echoes
Description: A long corridor stretches forth, the sound of dropping water echoing throughout. Every whisper and creak resonates back to the adventurers, giving the feeling of being watched. Above, arcane glyphs flicker with an ominous glow, hinting at the mystical energies contained within.
- Monsters/Traps: A pair of Fell Shadows lurk here, slipping silently from the walls to assault the adventurers.
- Treasure: An enchanted lantern that casts a calming light, revealing hidden runes that provide clues to overcoming challenges later in the delve.
3. The Chamber of Chains
Description: Rusty chains hang from the ceiling, each one attached to a dilapidated iron cage. The floor is littered with fragile bones, remnants of those who have failed in their attempts to escape this nightmarish prison. The air is thick with despair.
- Monsters/Traps: Cages contain a Morlock that will attack if the adventurers come too close.
- Treasure: A set of ornate manacles that, when worn, enhance the wearer’s Dexterity while binding their mobility.
4. The Obsidian Altar
Description: A great altar dominates this chamber, carved from pure obsidian and shining malevolently. Candles flicker with ethereal blue flames that dance along the walls. The air here is charged with dark magic.
- Monsters/Traps: A Cultist Party (4 members) performs a ritual here, summoning dark energies to aid them. They are visibly desperate and will defend their practices fiercely.
- Treasure: Ritual components that, if correctly used, can empower a spellcaster and a Tome of Shadows, which contains secrets on manipulating darkness.
5. The Forgotten Library
Description: Bookshelves crumbling under layers of dust line the walls of this dimly lit room. Ancient tomes lie sprawled across the floor, split pages revealing the fractured truth of Tarak-Maru’s downfall. Faint whispers can be heard, thought to be the spirits of long-dead scholars.
- Monsters/Traps: A Sentient Specter wanders here, consuming the memories of the living to relive its past life.
- Treasure: 3 scrolls of historical importance and a Ring of Knowing, which allows the wearer to ask one question about the library’s contents.
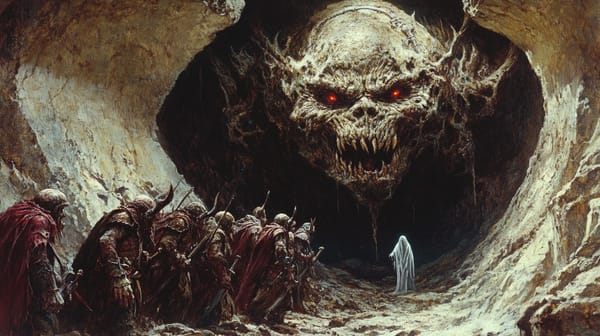
6. The Pit of Despair
Description: The floor suddenly drops away to reveal a deep pit, shrouded in darkness. A metal ladder leads down, creaking ominously with every touch. The nauseating scent of decay assaults the senses, warning of what lies below.
- Monsters/Traps: At the bottom of the pit waits a Giant Monstrous Rat guarding a horde of small treasures and something far more sinister.
- Treasure: A stash of copper coins and a Scroll of Invisibility, hidden within rotting clothing.
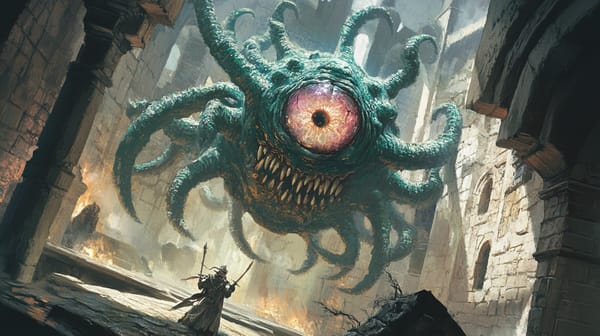
7. The Guardian's Lair
Description: This large chamber looms darkly, filled with an oppressive silence. The walls are reinforced with iron and filigree inlays, holding the weight of centuries. In the center sits the Guardian, an enormous construct composed of dark metal.
- Monsters/Traps: The Guardian of the Crypts awakens as the adventurers enter, its eyes glowing as it prepares to defend the secrets it holds.
- Treasure: The Obsidian Scepter of Bastor, pulsing with dark energy, lies atop a raised pedestal surrounded by the remnants of failed challengers.
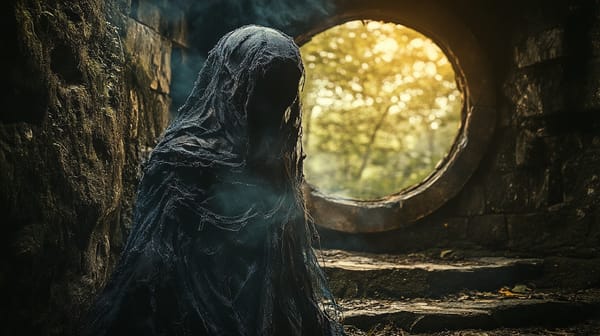
8. The Shrine of Regrets
Description: A hollowed chamber serves as a shrine to tormented souls, with personal effects from countless adventurers scattered around, echoing their failed quests. The shrine itself is decorated with items of power and longing.
- Monsters/Traps: Wraiths inhabit this space, drawn from the memories attached to each item. They appear as flickers of light, dancing out of reach.
- Treasure: A treasure chest that radiates a faint light contains a Cursed Amulet that grants protection at a dreadful cost.
9. The Chamber of Ceremonies
Description: Banners once bright and proud hang drooping from the ceiling, dust draping them like shrouds. The scent of incense still lingers, and echoes of chants seem to vibrate through the air as if the very stones remember.
- Monsters/Traps: Once again, Fell Shadows stalk here, but if defeated, they leave behind a clue leading to hidden passages.
- Treasure: An ornate dagger inscribed with runes that offers insight into the proceedings of ancient ceremonies.
10. The Exit Passage
Description: The final room of the crypt leads back to the upper world, but not before testing the adventurers one last time. The walls glimmer with reflective obsidian, distorting the adventurer's perceptions.
- Monsters/Traps: A final Ruinous Trap is hidden here, disarming it will grant easy access to the exit.
- Treasure: An Obsidian Mirror, which holds glimpses of the future for those brave enough to gaze into it, alongside a bag of assorted treasures claimed from previous victims.
Conclusion
The Obsidian Crypts of Tarak-Maru provide game masters with a rich backdrop for adventures steeped in themes of ambition, regret, and the turmoil of the past. To expand the narrative, consider tying the fate of Tarak-Maru to current events in your campaign. Introduce NPC factions vying to reclaim or eradicate the secrets held within the crypts, leading to a multi-layered conflict that invites characters to engage with the broader world. Players could find themselves caught between rival adventurers, each representing differing philosophies on how to handle the ancient powers they unleash.
By leveraging the unique features and treasure within the crypts, each delve can offer varied rewards and consequences, ensuring no two explorations yield the same outcome. Balancing exploration with hostile encounters and moral choices will turn the Obsidian Crypts into a legendary dive that adventurers recount for ages.