The Labyrinth of Cinnabar Spires

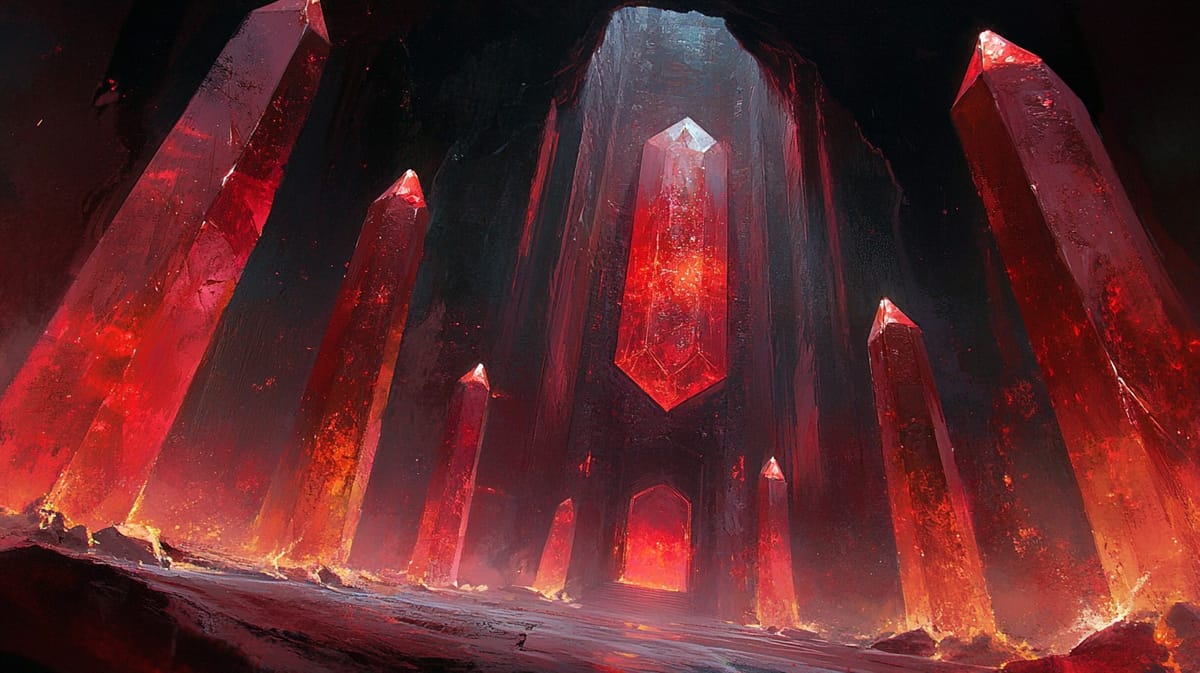
Deep within the forsaken heights of the Elder Peaks lies the Labyrinth of Cinnabar Spires, an ancient complex built by a reclusive order of sorcerers who sought to harness the powers of the elusive gemstone cinnabar. Legends whisper of a grand artifact, the Crimson Sigil, hidden within its twisting corridors—a device said to amplify the wielder's mastery over fire and earth. This dungeon is steeped in mystery, where the echoes of ancient incantations linger in the air, and the walls are lined with vibrant red crystals that pulse with arcane energy. Adventurers brave enough to enter must navigate through a tapestry of cunning traps, bizarre constructs, and the remnants of those who failed to grasp the uncontrollable power of the sigil.
Room Descriptions
Room 1: Chamber of Wails
Description: You step into a cavernous room dominated by towering spires of cinnabar, glimmering eerily in the flickering torchlight. The echoes of distant wails resonate from the walls, sending chills down your spine.
- Monsters/Traps: A pair of Animated Armors that spring to life upon your entrance, guarding a glowing altar at the center.
- Treasures: Under the altar, you find a small chest containing a Map of the Labyrinth, leading to a hidden stash of gems.
Room 2: The Echoing Hall
Description: As you move deeper, the hall grows narrower, with every sound amplified tenfold. The walls are etched with runes that glow softly; the atmosphere feels charged with energy.
- Monsters/Traps: Mimic disguised as a wall-mounted gem display; it attacks if approached.
- Treasures: Inside the mimic's gooey mass lies a Key of Echoes, necessary to unlock the doors deeper in the labyrinth.
Room 3: Crystal Cache
Description: This room is a treasure hoard, filled with unrefined segments of cinnabar and other precious stones. The shimmering crystals refract light in a dazzling display.
- Monsters/Traps: A Giant Scorpion lurks among the piles, attracted by the adventurers' movement.
- Treasures: Scattered throughout are several pieces of Rare Spice and a Cinnabar Crystal (a magical component for fire spells).
Room 4: The Scholars’ Rest
Description: Shelves crammed with ancient tomes line the walls, their spines cracked and faded. Littered across the floor are scrolls bearing warnings and arcane knowledge.
- Monsters/Traps: A Scroll Trap that releases Fireball when a specific tome is lifted.
- Treasures: One tome recounts the tale of the Crimson Sigil, granting the reader a permanent +1 to Spellcasting.
Room 5: Hall of Guardians
Description: Portraits of long-dead sorcerers loom over this hall, their eyes seeming to follow you as you walk. Stone sentries align the path, waiting to spring to life.
- Monsters/Traps: Stone Golems activate when the party crosses the threshold.
- Treasures: In the corner lies a Crown of Protection, giving +1 AC when worn.
Room 6: The Forge of Flames
Description: A large forge glows with hot coals. Tools of an ancient craft lie scattered about, while the air thrums with heat.
- Monsters/Traps: A Fire Elemental rages within, protecting the forge and its treasures.
- Treasures: Amongst the tools, discover a Cinnabar Blade, a +1 shortsword that deals additional fire damage.
Room 7: Labyrinthine Paths
Description: This winding passageway seems to shift as you walk, making navigation treacherous. At intervals, crystal orbs emit soft light, revealing glimpses of the path ahead.
- Monsters/Traps: A Gelatinous Cube drifts silently, hoping to absorb unsuspecting adventurers.
- Treasures: Near a corner lies a sparkling Gem of Night, usable to create darkness in a 20-foot radius.
Room 8: Chamber of Convergence
Description: Multiple paths intersect here, and a swirling pool of elemental energies fills the center of the chamber, radiating heat and sparks.
- Monsters/Traps: Conduit of energies creates a Lightning Trap—a character must succeed on a Dexterity save or take damage.
- Treasures: A small iron box fizzles with contained power, holding a Potion of Fire Resistance.
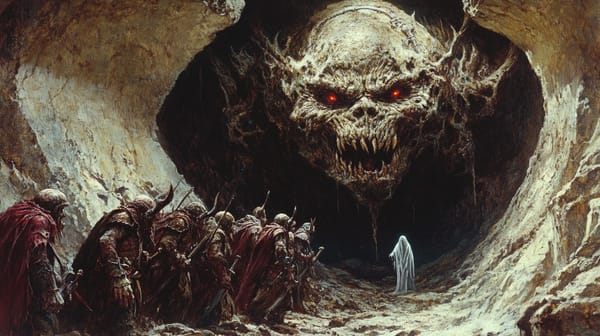
Room 9: The Ancients’ Crypt
Description: This room features elaborately carved sarcophagi. Their whispers echo, speaking of ancient knowledge lost to the ages.
- Monsters/Traps: A Specter emerges from one sarcophagus, seeking to defend the secrets buried with it.
- Treasures: Hidden within one coffin is a Scroll of Flame, a one-time-use spell that deals heavy fire damage.
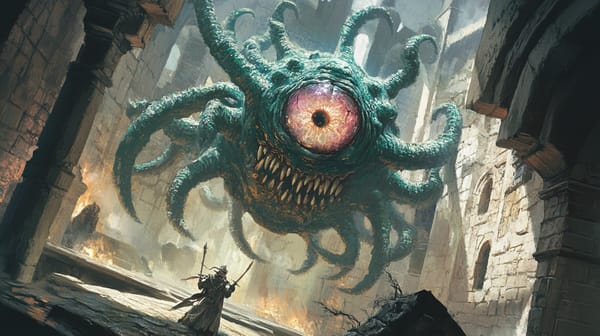
Room 10: The Crimson Chamber (The Final Room)
Description: As you step inside, you are met with an overwhelming aura of power. At the center lies the Crimson Sigil, a radiant gem pulsating with energy. The chamber shimmers with a fiery iridescence.
- Monsters/Traps: A Fire Drake guards the sigil fiercely, ready to strike anyone who would take the artifact.
- Treasures: Upon defeating the Drake, the adventurers can claim the Crimson Sigil, granting mastery over fire spells once per day.
Conclusion
To adapt and expand the Labyrinth of Cinnabar Spires, consider the following:
- Link to Larger Campaign: Introduce an overarching narrative surrounding the sorcerers of the Elder Peaks and their ambitions. Perhaps a gathering of elemental forces threatens to engulf the land, and the sigil is central to stopping it.
- Thematic Events: Introduce side quests related to the artifacts found, leading to unexpected alliances or rivalries with NPCs who seek similar power.
- Expanding Threats: Introduce rival sorcerers or elemental entities who may attempt to reclaim the sigil, leading to future quests that take adventurers beyond this dungeon.
This dungeon not only tests the skills of players through combat and traps but also enriches their experience with lore and enchanted treasures for greater adventures ahead.