The Fallen Conclave

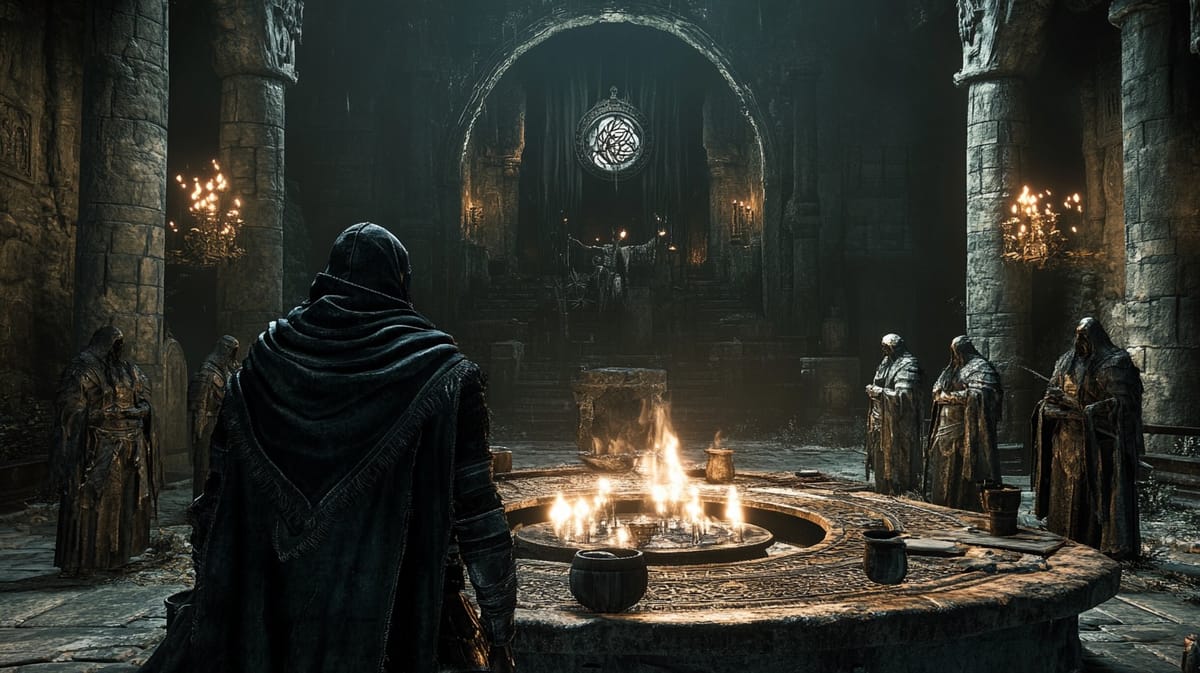
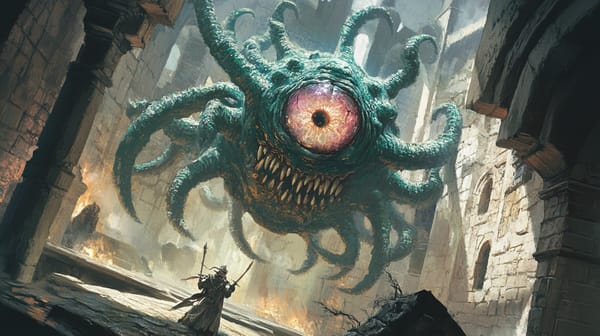
In the shadowy corridors beneath the forsaken Temple of Alathoth, once a sacred place of knowledge, lies the Labyrinth of the Lost Conclave. The echoes of ancient voices resonate within these halls, too often ignored by those who fear the whispers of arcane power. What remains are fragments of forgotten spells, relics of misuse, and scatterings of scholars transformed into nightmarish shadows of their former selves. Navigating this maze presents both knowledge to be reaped and dangers of unfathomable gravity—both protectors and prisoners. Those daring enough to enter will unveil the truth of the Conclave’s fall or succumb to the cursed fate that befell them.
Room Descriptions
1. The Echoing Atrium
Upon entering, you see a vast chamber marred by decay. Tall columns rise to cracked stone ceilings covered in shadow and dust. The walls, lined with faded frescoes depicting the rituals of the Conclave, shed soft illumination from sporadic light orbs. An ancient pedestal in the center holds a hefty tome bound in writhing leather, its pages flipping oddly as if stirred by an unseen wind.
- Monsters/Traps: Nothing yet, but a hearing trap is set off if more than two party members speak simultaneously, echoing their voices in disorienting waves.
- Treasure: The tome is titled "The Compendium of Shadows" (grants knowledge of one lost spell).
2. The Chamber of Reflections
A series of cracked mirrors line the walls that distort your reflection, showing not your visage but that of shadowy robed figures. The floor is strewn with broken glass, each step echoing ominously. A hidden cabinet is embedded in the wall.
- Monsters: Two Shadowstalkers lurk in the shadows, drawn to the fear emanating from intruders.
- Traps: Hidden spikes beneath the glass can trigger, causing 1d6 damage.
- Treasure: Inside the cabinet, a magical amulet that grants Darkvision can be found.
3. Hall of Forgotten Spells
Expanses of shelves dominate the walls, filled with dusty scrolls and half-burned grimoires. A faint glow emanates from a raised platform in the far corner—where an unstable arcane membrane shimmers with uncontrolled energy.
- Monsters: A Lurking Wisp, curious about intruders and potentially hostile.
- Traps: The arcane membrane bursts when triggered, creating a magical backlash; everyone in the room must save or take 2d6 damage.
- Treasure: Two usable scrolls: "Mage Armor" and "Fireball".
4. The Spectral Observatory
The room is dominated by an enormous, shattered dome that allows the moonlight to pierce the shadows. Charts detailing celestial patterns (forbidden knowledge) hang precariously. An ancient astrolabe shimmers with ghostly light.
- NPC Party: An NPC party of three: Lavinia (Illusionist, Lvl 5), Thorne (Rogue, Lvl 4), and Bellanora (Cleric, Lvl 4) are attempting to harness the astral magic.
- Treasure: The astrolabe can be attuned to provide prophecies connected to the stars.
5. Chamber of the Arcane Guard
A guardroom, seemingly intact, may hold the remnants of the Conclave's protectors. Armor stands long forgotten, and one suit animates when approached, clanking with life—an Animated Armored Guardian.
- Monsters: 1 Animated Armored Guardian.
- Treasure: Ancient but potent armor can be salvaged from the defeated guardian (Grants +1 AC).
6. The Sealed Archive
A heavy door with complex glyphs guards a room that seems to hum with latent magic. Inside, rows of bookshelves cast a long, dark shadow, each tome glimmering with unnameable power. Magical wards prevent entry, but a hidden key is underneath a nearby loose flagstone.
- Traps: Triggering the ward would initiate an Arcane Inundation trap, threatening to unleash a surge of chaotic magic (2d10 damage).
- Treasure: Two tomes of powerful spells: "Mind Control" and "Energy Drain".
7. Room of Astral Echoes
This room captures the essence of lost souls, visible as ethereal forms moving in response to imperceptible currents. The cries of the lost scholars float around like a haunting melody. In the center lies a grand altar, adorned with shimmering gems.
- Monsters: 3 Phantoms of the old scholars, struggling to find peace.
- Treasure: The altar has a magical gem that can summon the voice of a spirit to answer one question of great importance.
8. The Hall of The Fallen
Here, the remnants of the conclave are preserved in grotesque statues, each one frozen in an expression of horror. Shadows flit along the wall, each leading to the figures' dormant memories.
- Monsters: Shadow manifestations of the scholars turn into Nightmare Shades (1d4).
- Treasure: A fabled Scroll of Banishment is hidden within the cracks behind one statue.
9. The Chamber of Indulgence
Eerily opulent, this room is adorned with untouched silks and luxurious woods, an inviting yet sinister atmosphere pervades. Long tables of decadent feasts decay, hinting at the scholars' ultimate downfall.
- Traps: Cupboards holding poison darts—triggered by touch.
- Treasure: Among the table's remains, golden chalices engraved with fading runes can worthily fetch a price in any city.
10. The Archmage’s Sanctum
The final room opening up to a vastness of floating arcs and orbs of brilliant light. At the center lies the seat of power, where the last Archmage met their fateful end. The area is imbued with heavy, ambient energy.
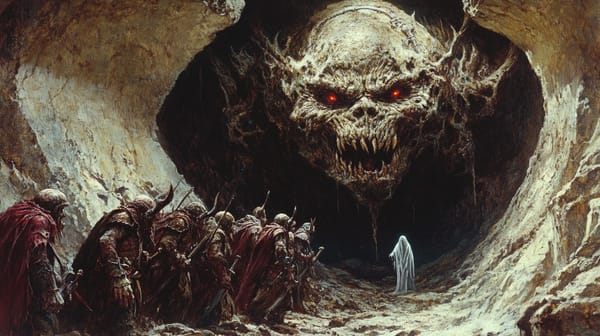
- Monsters: The Revenant Archmage—once a protector, now corrupted by the forbidden knowledge.
- Treasure: The Archmage’s Staff of Lost Knowledge (grants three spells per day) lies upon the dais, awaiting a worthy wielder.
Conclusion
For Game Masters looking to adapt or expand this dungeon, consider:
- Linking to Larger Campaigns: The discovery of the Labyrinth can correspond with rumors of overcoming an evil cult or rival scholars seeking to claim its secrets.
- Introduce Lore: Add fragments of stories about the fallen Conclave that players can piece together, enriching their experience with layers of history.
- Adaptive Encounters: Depending on the party’s level or interests, swap out some encounters for more challenging adversaries or provide paths leading to expansive lore opportunities.
When wielding this dungeon, remember the balance of peril and discovery—cultivate the players' curiosity while ensuring they face the darker threads of legacy threading through the Temple of Alathoth.