The Depths Below: The Hallowed Cavern

Crafted as a refuge for a forgotten cult, The Hallowed Cavern weaves an intricate tale of devotion and despair. The subterranean chambers echo with the whispers of ancient rituals, and strange remnants of worship scatter throughout. Each room draws you further into the enigma of madness, calling adventurers to delve deeper and uncover what was long buried. Yet, the shadows here hide danger; both from the twisted remnants of the cult and from lurking beasts that have claimed the space for themselves.
Description
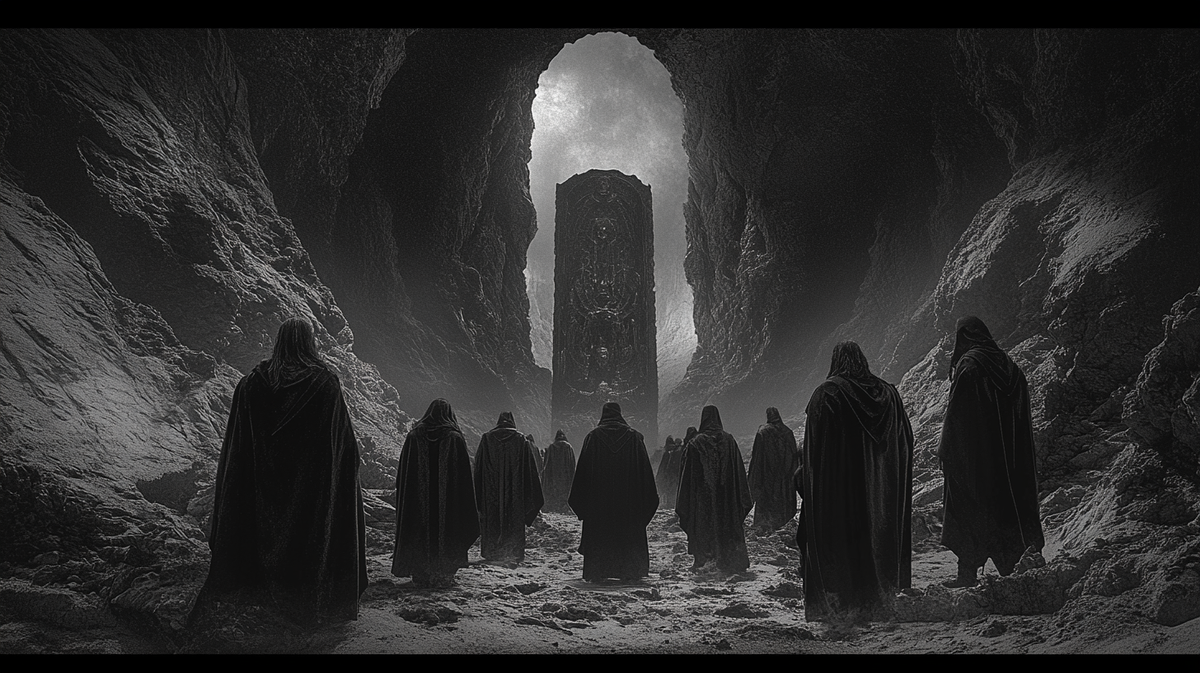
This dungeon is set within an expansive cavern, shaped by primal forces and transformed by malevolent worship. Ancient carvings and crude altars indicate the location's previous significance. Now filled with dread, the cavern serves as both a tomb and a lair for creatures both unnatural and vile. The air here is thick with an otherworldly atmosphere, challenging brave adventurers to confront the horrors of the past.
Room Descriptions
Room 1: The Entrance Chamber
A vast chamber with a low ceiling and damp stone walls. Puddles of dark water gather in the corners.
- Monsters: 1d6 Giant Rats
- Treasures: 5 silver pieces hidden beneath the stone
Room 2: The Altar of Shadows
An altar caked in dark residues stands at the center of the room, surrounded by faintly glowing glyphs. The smell of decay lingers.
- Monsters: 1d4 Zombies
- Treasures: A small black obsidian idol worth 25 gp
Room 3: The Hall of Echoes
This long hallway resonates with strange whispers. Shadows seem to dance along the edges of your vision.
- Monsters: 1d6 Kobolds
- Treasures: 10 gold pieces and a rusted dagger
Room 4: The Forgotten Library
Rows of crumbling scrolls line this room, their secrets lost to time. A heavy silence watches over the space.
- Monsters: 1d3 Morlocks
- Treasures: Scroll of +1 to saving throws (one-time use)
Room 5: The Guard Post
The remnants of stone barricades stand in disarray, remnants of the cult's last stand. Slumped figures lay strewn about.
- Monsters: 1d4 Skeletons
- Treasures: Chainmail (if a skeleton has a notable weapon)
Room 6: The Whispering Pool
A dark pool that seems to absorb the surrounding light. The whispers grow stronger here, wrapping around your mind.
- Monsters: 1d2 Ghouls
- Treasures: Amulet of Health (grants +1 to Constitution for one hour)
Room 7: The Chamber of Possession
Images of twisting grappling hands cover the walls, reaching out toward you as if to drag you closer.
- Monsters: 1d3 Cultists
- Treasures: 15 silver pieces and a spellbook containing two first-level spells
Room 8: The Tomb of Ancients
A vast sarcophagus dominates this room, enveloped in a heavy mist. The ground is littered with broken offerings.
- Monsters: 1 Wight
- Treasures: 50 gold pieces and a cursed ring of protection
Room 9: The Crypt of Betrayal
Piles of bones and rusting weapons cover the floor. A lingering smell of desperation fills the air.
- Monsters: 1d8 Skeletons
- Treasures: 20 gold pieces
Room 10: The Hidden Cache
A secret compartment in the wall reveals an array of gleaming treasures; the room sparkles with the promise of wealth.
- Monsters: None (room is protected by a trap)
- Treasures: 100 gold pieces; 1d6 healing potions
Room 11: The Hall of Mirrors
Mirrors line the walls, distorting your reflections. Something feels wrong as you look at them.
- Monsters: 2d4 Shadows
- Treasures: Mirror of Truth (allows a single question to be answered)
Room 12: The Sanctuary of the Damned
This final chamber glows with an eerie light. Its walls pulse with dark energy as if alive.
- Monsters: 1d2 Specters
- Treasures: An ancient spellbook containing 3 random spells and a potion of clarity
Conclusion
To enhance the experience, describe environmental effects like dripping water that can mask noise or broken paths needing skill checks to traverse safely. Use atmospheric descriptions that engage the senses of sight, sound, and smell. Additionally, incorporate legend and lore into the room descriptions to deepen player investment in the story behind The Hallowed Cavern.