The Clockwork Bastion of Vorathril

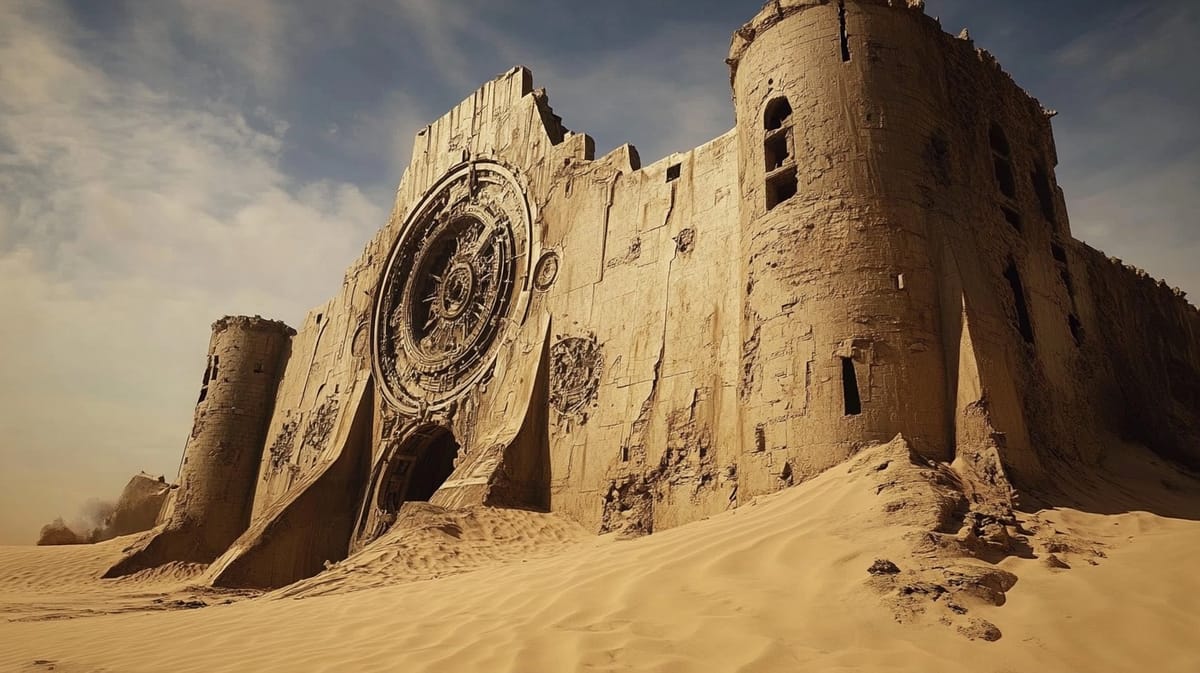
Welcome to the Clockwork Bastion of Vorathril, a marvel of forgotten technology buried beneath the shifting sands of time. This ancient fortress, once a thriving hub for the master artificers of a bygone civilization, now stands in disrepair, its gears and mechanisms long silent. However, whispers of a mystical device—imbued with the power to manipulate time itself—have surfaced in recent months, drawing adventurous souls to its rusted gates. Within these walls lie intricate clockwork traps, strange mechanical guardians, and the remnants of a dark tale where hubris met its ruin. Prepare to delve into a labyrinth where time itself seems to twist and bend, and discover the fate of the artificers who once called this place home.
Room Descriptions
Room 1: Entrance Chamber
Description: As you enter, the grand entrance reveals a vast domed chamber adorned with brass and copper decorations. The walls are lined with intricate engravings of gears and celestial bodies, and faded murals depict skilled artisans at work. A massive, partially rusted clock with strange hands ticks ominously on the far wall.
Monsters/Traps: An animated Clockwork Sentinel stands guard, its eyes glowing blue as it awakens to challenge the intruders.
Treasures: A small compartment in the clock conceals an Hourglass of Precognition—a magical item that grants the wielder a glimpse into possible actions in the next round.
Room 2: Gearworks Hall
Description: The room is filled with exposed gears and mechanisms, all grinding together with a soft mechanical hum. Chambers of various sizes branch from this central hub, their doors tightly closed.
Monsters/Traps: A series of Spike Traps hidden in the flooring activate when triggered, sending metal spikes shooting upwards.
Treasures: A set of fragile Blueprints for Mechanical Constructs, granting the ability to create simple constructs or traps with sufficient time and materials.
Room 3: The Luminous Forge
Description: Enormous forges fill this room, and heat lingers in the air, still faintly emanating from the embers. The walls glimmer with strange, enchanted metals displayed like trophies.
Monsters/Traps: A Living Forge Elemental, a being made of molten metal, rises to defend its territory.
Treasures: An enchanted hammer known as the Artificer's Touch, which provides a bonus to crafting and repairing mechanical devices.
Room 4: The Archive of Echoes
Description: Shelves of dusty tomes and scrolls rise to the ceiling here, filled with knowledge lost to time. An ethereal glow surrounds one shelf, hinting at the power within.
Monsters/Traps: A Cursed Tome animates and attempts to ensnare the curious legs of those who approach too closely, releasing a burst of energy when violated.
Treasures: A scroll holds a Spell of Recall, allowing its user a single teleportation to a previously visited area in the fortress.
Room 5: Chamber of the Ever-Ticking
Description: The sound of relentless ticking fills this chamber, where dozens of small clocks reveal their inner workings. An enormous gear hangs suspended, creating a strange shadow dance on the walls.
Monsters/Traps: A swarm of Clockspawn Mice, mechanical beasts that attack in waves, attempting to overwhelm intruders.
Treasures: A Timeworn Amulet, granting its wearer a temporary extension of their turn in combat.
Room 6: The Hall of Mirrors
Description: Mirrors cover the walls, reflecting distorted images of reality. When gazing into them, one can see flickering scenes from the past.
Monsters/Traps: An Illusory Guardian, a phantom of a long-dead artificer, confronts intruders, testing their resolve with riddles or challenges.
Treasures: A Mirror Shard, which can project a temporary illusion to assist in combat or negotiation.
Room 7: The Alchemical Lab
Description: Flasks bubble and smoke, creating a cacophony of smells and colors. This workspace, covered in grime, hints at recent use, though no occupants remain.
Monsters/Traps: A transformed Alchemical Abomination, meld of metal and organic matter, rages against any intruders.
Treasures: A vial of Elixir of Gears, granting temporary enhancements to dexterity and reflexes.
Room 8: The Celestial Nexus
Description: This circular room features a domed ceiling painted with constellations. A pentagonal device sits in the center, pulsing with ancient power.
Monsters/Traps: Magical Energy Vortexes emerge when the device is tampered with, pulling creatures towards it.
Treasures: The Nexal Gem, which can be used to manipulate a small amount of time, allowing one creature to repeat a single action.
Room 9: The Study of Forbidden Knowledge
Description: A dark and musty room filled with parchment, once used for arcane experiments. Strange devices and half-concocted potions cover every surface.
Monsters/Traps: A Spectral Scribe, the remnant of a scholar gone mad, protects the space with illusions and confusion.
Treasures: An Arcane Compendium, containing notes on rare spells or alchemical recipes.
Room 10: The Sanctum of the Clockwork Heart
Description: Bathed in an eerie glow, this final chamber holds the legendary Clockwork Heart—a massive core that thumps rhythmically, radiating arcane energy. The walls pulse, as if alive.
Monsters/Traps: The heart itself manifests as a Clockwork Guardian, constructed of metals and gears, to defend its sacred core.
Treasures: The Heart of Time, a potent magical device granting its bearer control over time-related spells and effects.
Conclusion
To adapt the Clockwork Bastion of Vorathril for your campaign, consider introducing time-based challenges that affect more than just combat—perhaps requiring players to solve puzzles under a time limit or face creatures that can manipulate their actions. Each room could tie into larger narrative arcs about the fallout of the artificers’ reckless ambitions or lead to new quests involving the retrieval, safeguarding, or destruction of the Clockwork Heart. This dungeon, with its blend of mechanical intricacies and haunting remnants of the past, promises to captivate players while challenging their intellect and resolve.