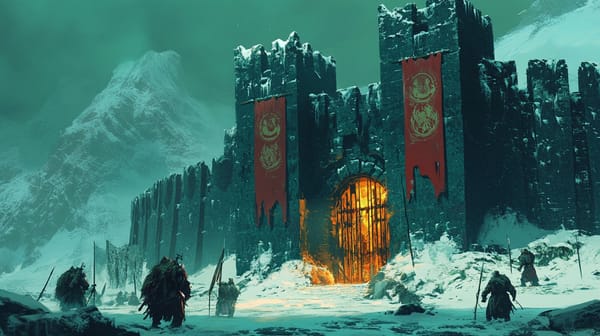
Lair of the Silverfang Raiders

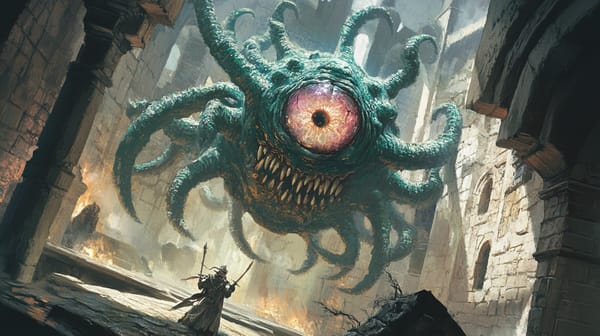
Deep within the jagged hills that rise ominously above the surrounding plains lies the Lair of the Silverfang Raiders. This foreboding stronghold, twisted by the relentless savagery of its beastman inhabitants, serves as a breeding ground for chaos and conquest. The Silverfang Tribe, led by the fierce warlord Gnarok, has established a brutal regime of raiding and pillaging, enforcing their dominance over rival tribes and unfortunate travelers. The lair is a patchwork of hastily assembled structures, fortified by crude defenses and permeated with the stench of blood and smoke. Adventurers brave enough to enter this den of savagery are faced with not only the vicious beastmen but also the remnants of past victims who traversed their cursed territory.
Room Descriptions
Room 1: Entrance Hall
Upon entering the lair, the adventurers are met with a wide chamber lit by flickering torches that cast eerie shadows on the rough stone walls. Rusted iron bars separate the entrance from a deeper part of the lair, while the floors are slick with blood and mud. The stench of sweat and filth hangs heavy in the air, mingling with the acrid scent of smoke from nearby fires.
- Monsters/Traps: 1d4 Goblins (watching the entrance).
- Treasure: A small sack containing 15 silver pieces, crudely fashioned bone trinkets.
Room 2: War Room
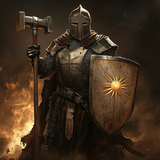
Dominated by a rough-hewn table scattered with maps and bones, this room serves as the brain of the Silverfang operations. Trophies of previous raids, including the mangled remains of beastmen enemies, adorn the walls. Note: Alternatively, Gnarok can be found in room 10.
- Monsters/Traps: Gnarok the Warlord (human fighter, Level 3) and 2d4 Orc Warriors.
- Treasure: A magical battle standard (Standard of the Silverfang) that grants +1 to attack rolls when raised.
Room 3: Barracks
This cramped area is filled with the stench of unwashed bodies and spoiled food. Rows of strewn bedding cover the dirt floor; the few walls are adorned with crude drawings of past victories.
- Monsters/Traps: 1d8 Goblins resting, surprised if the party enters quietly.
- Treasure: Assorted tribal jewelry (worth about 30 gold pieces).
Room 4: Ritual Space
Dark and unsettling, this room is dominated by a large stone altar, caked with dried blood and ancient tattoos etched into the walls. Strange totems of bone hang from the ceiling, swaying gently as if alive.
- Monsters/Traps: 1d4 Bugbears performing a dark ritual.
- Treasure: Fetishes that confer Resist Poison (2 uses).
Room 5: Animal Pens
The sounds of vicious growling and scratching fill this room, where captured animals are held as future combatants in the tribe's blood sports. A foul stench permeates the air, and the environment is chaotic.
- Monsters/Traps: 1d6 trained Wolves ready to defend.
- Treasure: A sack containing exotic spices (valued at 50 gold pieces).
Room 6: War Banners Display
A display of war banners and trophies from past battles gives this room a grim atmosphere. The banners are stained and frayed, telling tales of violent conquests.
- Monsters/Traps: 1d4 Giant Rats
- Treasure: A small collection of past treasures – a jeweled dagger and 25 gold pieces.
Room 7: Council Chamber
This large hall echoes with the sounds of angry voices as the tribe’s leaders gather to plan their next raid. The decor is regal yet savage, with trophy skulls prominently displayed.
- Monsters/Traps: 1d6 Orc Warriors and their leader (an Orc Shaman).
- Treasure: Potions of healing (2) and a scroll of Fireball.
Room 8: Treasure Hoard
This heavily guarded room is where the spoils of conquest are stored. Piles of coins, gems, and stolen goods clutter the floor, intricately arranged to dissuade thieves.
- Monsters/Traps: 1d6 Hobgoblins as guardians.
- Treasure: 500 silver pieces, assorted gems valued at 150 gold pieces, and a +1 magical armor.
Room 9: Traitor’s Cell
A filthy cell where traitors are imprisoned, shackled to the walls. The scent of despair is palpable, and the sounds of desperation echo within. A past adventurer may be found here, hoping for rescue.
- Monsters/Traps: A lone captive (NPC human thief, Level 2).
- Treasure: A set of lockpicks and a warning map of the dungeon (indicates an escape route).
Room 10: The Den of Gnarok
The final chamber rests deeply in the lair, cluttered with the spoils of war. Gnarok's throne is a throne of bones and skulls. The dim light reveals a recent struggle, with bloody marks on the floor.
- Monsters/Traps: Gnarok and his fiercest bodyguard, a Raging Troll.
- Treasure: A magical sword (Sword of the Beastmaster) that grants control over beasts, alongside 200 gold pieces in a jeweled chest.
Conclusion
As the players traverse through the Lair of the Silverfang Raiders, they will discover intertwining stories of conquest and brutal customs of the beastmen. Gnarok's growing power threatens the surrounding region, hinting at a larger conflict brewing. Game masters can connect this adventure to a wider campaign by introducing rival factions vying for power, forging alliances with the player characters, or presenting them with the challenge of abating the threat posed by Gnarok's tribe.
Adventurers may also uncover clues about an impending beastman invasion, escalating the stakes as tensions rise. Consider introducing infighting among the tribe members or a ritual that can lead to a monstrous outcome, deepening the atmosphere of savagery and chaos within the lair.