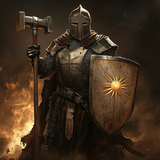
Lair of the Bonebreaker Warlord
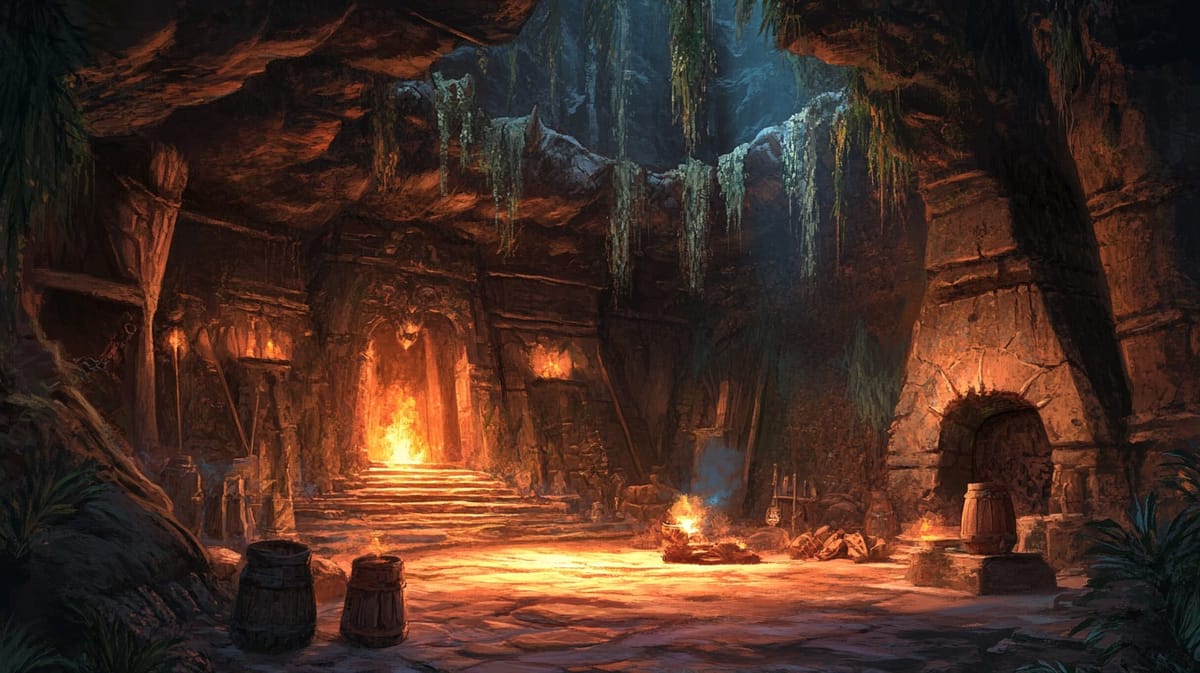
Deep within the craggy foothills of the Ghoraz Mountains lies the Lair of the Bonebreaker Warlord, a brutal stronghold where savage beastmen gather under the leadership of the infamous warrior known only as "Bonebreaker." This lair serves as a breeding ground for warriors, a stockpile of plundered treasures, and a crucible for the tribe's merciless customs. The desolate atmosphere is accented by the stench of blood and filth, and the walls bear the scars of ferocious battles waged for dominance over the mountain passes. Adventurers who dare tread here will find themselves facing not only the tribe’s ferocious defenders but also the remnants of their terrible rituals and the spoils of countless raids.
Room 1: The Entrance Hall
- Description: The stench of sweat and blood fills the air as you enter the darkened hall, its stone floor smeared with the remnants of past carnage. Tattered banners hang from the walls, bearing the sigils of the Bonebreaker Tribe. A flickering torch illuminates jagged bone-carved furniture, arranged in a semi-circle around a crude fire pit still smoldering from a recent feast.
- Monsters/Traps: 2d4 Goblins, armed with crude spears and slings. (AC 2, HD 1-1, MV 60', ATK +0 (1d6), SV F0, ML -1)
- Treasures: A scrap of parchment containing crude maps of nearby settlements, along with a set of bone-handled knives (15gp total).
Room 2: The War Council Chamber
- Description: A circular chamber dominated by a massive, gnarly stone table, around which the tribal leaders conspire. Bones of previous enemies decorate the walls. Fetishes lie on the table, representing their slain foes.
- Monsters/Traps: Bonebreaker Warlord and 3d4 Bugbears.
- Warlord (AC 5, HD 5+1, MV 60', ATK +6 (1d10), SV F5, ML +2)
- Bugbears (AC 4, HD 3+1, MV 60', ATK +4 (1d8), SV F3, ML +1, surprise on 1–3)
- Treasures: A magical War Banner that grants +1 to morale for allies within 60' when displayed in battle.
Room 3: The Trophy Room
- Description: The air reeks of decay. Grotesque trophies line the room: skulls, severed hands, and preserved beasts dangle from ropes.
- Monsters/Traps: 1d4 Rust Monsters. (AC 2, HD 2+2, MV 60', ATK +2 touch, SV F2, ML 0, Special: Destroys metal on contact)
- Treasures: A dragon-scale shield (+1 AC), and a Potion of Vigor (restores 1d6+1 HP).
Room 4: The Breeding Pits
- Description: Carved stone pits echo with snarls. Primitive cages hold prisoners—future warriors for the tribe.
- Monsters/Traps: 1d4 Troglodytes. (AC 4, HD 2+2, MV 60', ATK +2 claw/claw/bite (1d4/1d4/1d6), SV F2, ML +1, Special: Stench – save vs. poison or -2 to attacks)
- Treasures: Several silken sacks filled with food and trade goods (200gp value) and a crude tribal totem (negates 1 damage per attack for 1 minute, 1/day).
Room 5: The Warlord's Quarters
- Description: Lavish by beastman standards, with stolen silks, a bone throne, and carvings of past conquests.
- Monsters/Traps: The Warlord (Level 6 Barbarian) and 2 elite bodyguards.
- Warlord (AC 6, HD 6, MV 90', ATK +6 (2d6 greataxe), SV F6, ML +2, Special: Cleaves, Berserkergang)
- Bodyguards (AC 4, HD 4, MV 60', ATK +5 (1d8), SV F4, ML +2)
- Treasures: A cursed bloodthirsty dagger (CHA -1, heals 1 HP per kill), and a Map of Tribal Territories revealing rival lairs.
Room 6: The Training Grounds
- Description: Crude dummies and sparring orcs populate this open space. The air is thick with sweat and blood.
- Monsters/Traps: 1d6 Orcs in combat drills. (AC 3, HD 1, MV 90', ATK +1 (1d6), SV F1, ML 0)
- Treasures: A pair of Bracers of Defense (+1 AC if unarmored).
Room 7: The Skitter Dim Passage
- Description: Narrow, filthy corridors between main chambers, filled with refuse and crawling vermin.
- Monsters/Traps: A Mimic disguised as a chest. (AC 5, HD 4, MV 10', ATK +5 (2d8), SV F4, ML +1, Special: Adhesive, surprise on 1–3)
- Treasures: A stash of 3 silver ingots (50gp each), and a Fetish of Ferocity (once/day +1 to melee damage for 1 turn).
Room 8: The Blood Altar
- Description: A grotesque altar of jagged stone soaked in blood, used for savage tribal rituals.
- Monsters/Traps: 1–2 Tribal Priests performing rites, protected by a magical circle.
- Priests (AC 3, HD 3, MV 60', ATK +2 (1d6), SV F3, ML +1, Spells: 3x1st, 1x2nd level)
- Magic Circle: Acts as Protection from Good/Evil – players must save vs. Spells or be repelled
- Treasures: A Chaos Gem capable of casting Bestow Curse 1/day (Judge’s discretion).
Room 9: The Observation Tower
- Description: A rickety watchtower, littered with broken arrows and a rusty bell.
- Monsters/Traps: 1d2 Giant Eagles nesting. (AC 5, HD 4, MV 240' fly, ATK +4 (1d6/1d6), SV F4, ML +2, Special: double damage on dive)
- Treasures: A Crossbow of Growing Shadows – creates 5' radius darkness where bolt lands.
Room 10: The Hall of Conquests
- Description: The warlord's ceremonial chamber, decorated with murals of tribal victories and cruel rituals.
- Monsters/Traps: The Spirit of a Fallen Chieftain. (Use Wight: AC 3, HD 3, MV 90', ATK +3 (energy drain 1 level), SV F3, ML +1, Special: only harmed by magic weapons*)
- Treasures: The Heart of the Mountain – grants one Augury-like vision per day (Judge determines message).
Conclusion
As your players navigate the Lair of the Bonebreaker Warlord, consider the ramifications of their actions. Will they strike a deal with rival tribes seeking to disrupt Bonebreaker’s reign? Are potential magical relics or lost wonders within this grim stronghold connected to broader threats on the horizon? Infighting, betrayals, and monstrous rituals hurriedly unfolding intensify the stakes. Perhaps they may uncover plots that threaten the realm beyond these stone walls. Craft your narrative to keep the pressure on the adventurers as they delve deeper into the heart of savagery, revealing both treasures and horrors in equal measure.