Cache of the Drifter Sage
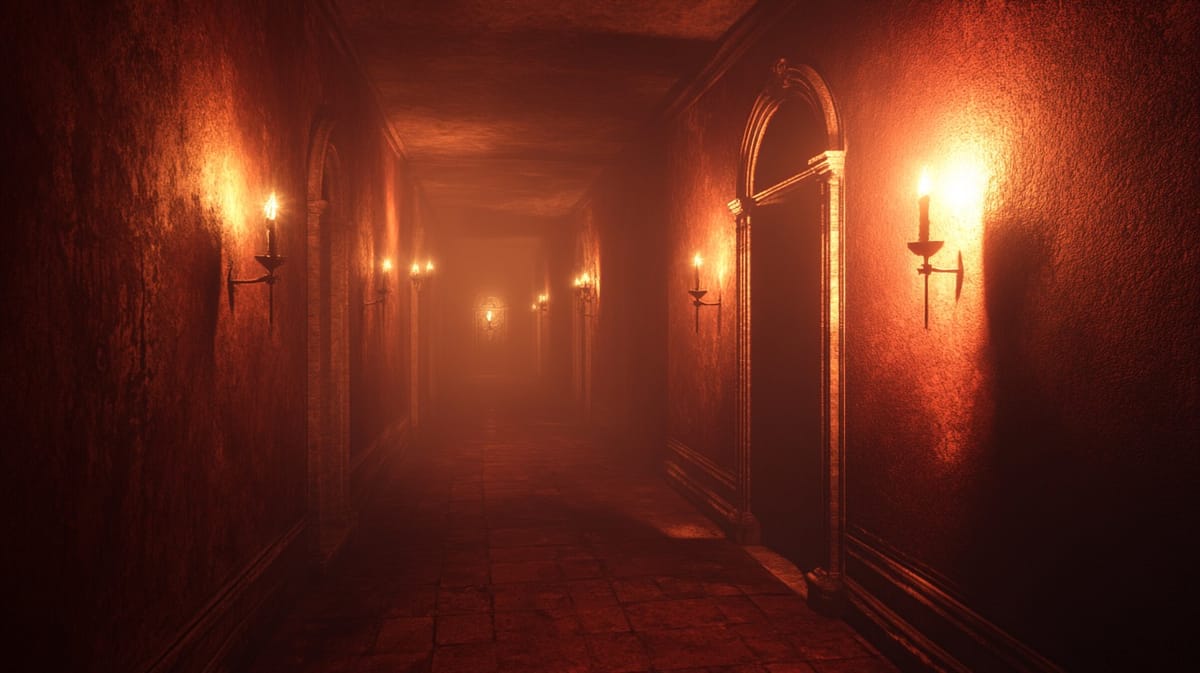
In a forgotten corner of the world lies the Cache of the Drifter Sage, a vast dungeon once a tranquil abode for an enigmatic sage known for collecting the echoes of every traveler who crossed his path. Wrapped in myth, the sage abandoned this sanctuary, leaving behind cryptic artifacts, riddles of both wisdom and warning, and creatures of erratic nature that now guard his trove. This adventure invites intrepid explorers to traverse winding hallways and hidden chambers, piecing together the lore and wonders of a bygone era, while uncovering the intertwined fates of those who sought refuge within.
Room Descriptions
Room 1: The Entryway of Confluence
As you step through the thick oak door, a conflux of colors swirls before your eyes. The walls are painted with intricate murals depicting travelers journeying through diverse landscapes—mountains, deserts, and seas. A warmth fills the air, emanating from a central stone that shimmers with a golden luminescence.
- Monsters/Traps: 1d4 Myrmyx, small, intelligent insect-like creatures guarding the entrance.
- Treasures: A glowing stone worth 100 gp, which reveals a part of the sage’s journey.
Room 2: The Hall of Recitations
This long, dimly lit hall features echoing whispers of past adventurers caught in the fabric of the walls. As you stretch your hands against the cold stone, snippets of their stories arise, cascading like gentle ripples.
- Monsters/Traps: Enchanted Echo-beasts (1d6) that become aggressive if they detect noise.
- Treasures: A scroll containing a riddle; solving it opens a hidden chamber behind the wall.
Room 3: The Gallery of Shadows
Posters of unusual creatures line this room, each depicting a captured shadow of a past visitor. Shadows flicker and twist, teasing their likeness of an earlier time.
- Monsters/Traps: 2d4 Shadow Wraiths; these shadows can confuse and blend with real creatures.
- Treasures: A silk tapestry that, when unraveled, reveals a magical item (a cloak of shadows).
Room 4: The Frosted Mind’s Chamber
An icy chamber with cold walls and frost-clad stalactites encapsulates the room, preserving a hypnotic silence. A pedestal at the center is surrounded by frozen remnants of intricate elves' lore.
- Monsters/Traps: Frost Elemental lurking amidst the ice.
- Treasures: An artifact known as the "Frost Crown," said to grant insights into ancient prophecies.
Room 5: The Observatory of Dreams
A circular room opens to the heavens through large stained glass windows. Each window depicts various celestial bodies moving in sync with a spiral staircase leading upwards.
- Monsters/Traps: None; however, the spiral staircase is magically enchanted to discourage pursuers.
- Treasures: An astral map detailing unexplored territories of nearby realms.
Room 6: The Echoing Library
Dusty tomes and scrolls stretch to the ceiling, each one pulsing faintly with hidden wisdom. The air smells of parchment and ink. A spectral librarian hovers, whispering forgotten knowledge.
- Monsters/Traps: The spectral librarian may ask a trivia question; incorrect answers summon 2d6 animated books.
- Treasures: An ancient tome that can be used for research, revealing secrets of old.
Room 7: The Crooked Workshop
Tables cluttered with bizarre tools and unfinished workpieces create an inviting chaos. Odd contraptions hint at the sage's inventive mind.
- Monsters/Traps: 1d4 Constructs imperfectly animated by the sage’s failed experiments.
- Treasures: A mechanical orb that, when activated, can amplify magical spells.
Room 8: The Hall of Reflections
Mirrored walls reflect the adventurers back at themselves, disorienting their perceptions. Each mirror holds flickering visions of the past.
- Monsters/Traps: Illusory foes (1d6) appear and mimic attackers' forms.
- Treasures: A mirror reflecting one's deepest fears, which can be exchanged with a magical artifact.
Room 9: The Sentinel’s Antechamber
The air grows thick with tension as you enter this room. An immense stone statue of a guardian looms silent, poised to strike.
- Monsters/Traps: The Sentinel activates upon disturbance, requiring a challenge of strength or wits.
- Treasures: A key to the next level hidden within the statue’s eye.
Room 10: The Chamber of Winds
Gentle breezes dance through this large, open space, carrying with them the whispers of countless travelers. An array of colorful fabrics hangs from the ceiling, fluttering like sails.
- Monsters/Traps: None present, but there are randomized gusts that may confuse movement.
- Treasures: A collection of enchanted garments that provide protection against elemental damage.
Room 11: The Eternal Sundown Chamber
Here, time seems to stand still, with the sky eternally painted in hues of orange and purple. A circular dais stands at the center, glowing ominously.
- Monsters/Traps: A rare Celestial Serpent, guarding the dais.
- Treasures: A sunstone said to grant visions of the future when held during twilight.
Room 12: The Gathering of Lost Souls
This chamber is filled with ethereal silhouettes, lingering in a dreamy haze. They are the echoes of travelers who never left.
- Monsters/Traps: The souls may try to convince characters to stay forever.
- Treasures: A precious-bound book containing the fables of every traveler lost here.
Conclusion
As a Game Master, adapt the Cache of the Drifter Sage to fit your campaign narrative. You may weave its lore into larger plots involving different dimension travels or conflicts between clans hunting sages. Connect external quests to this dungeon, creating a space ripe for exploration and engagement. Introduce unique encounters based on players' decisions, and feel free to expand the rooms or modify treasures according to the growing powers of your party.