Abyssal Sanctum of Gelthran the All-Seer

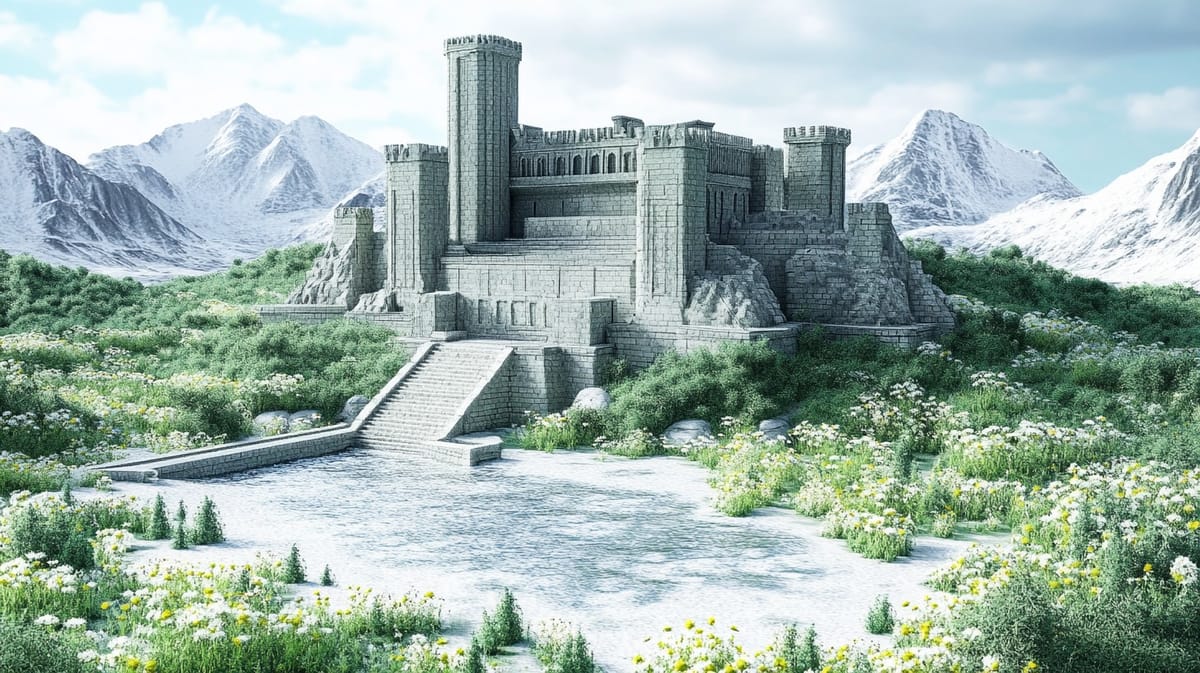
In the shadowed depths of the caverns beneath the forsaken city of Ebonmar, a unique dungeon awaits exploration. Known as the Abyssal Sanctum of Gelthran the All-Seer, this ancient temple was once a sacred place dedicated to a long-forgotten oracle deity. It is said that Gelthran, endowed with the ability to glimpse through the veils of fate, created this sanctuary to prepare for a great calamity foretold in the stars. Now, however, the temple lies in ruin, overgrown with the remnants of bygone worship and inhabited by twisted aberrations and fervent cultists who seek to reclaim its lost powers. Adventurers who dare to enter must navigate through its labyrinthine halls, uncovering hidden truths and facing the lurking horrors that lie dormant in its depths.
Room Descriptions
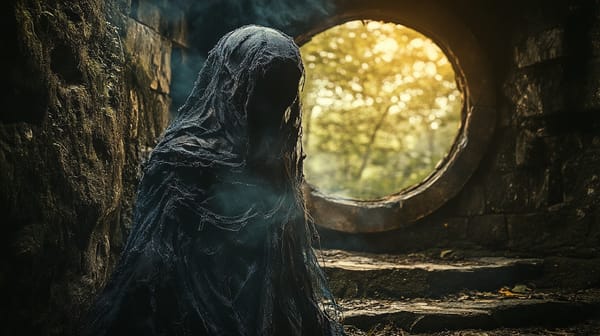
1. Entrance Chamber
Upon entering, the adventurers find themselves in a vast chamber dominated by crumbling stone columns and faintly glowing mosaics depicting celestial imagery. The air is thick with dust, and the echoes of dripping water reverberate through the space. A delicate, shimmering veil hangs at the far end, pulsing with an otherworldly light.
- Monsters/Traps: Two Abyssal Cultists (1d4) lurk here, ready to defend their secrets.
- Treasures: A Scroll of Foresight rests on a plinth in the center of the room.
2. Hall of Lost Prophecies
This hallway is lined with shattered tablets inscribed with prophecies that once guided the faithful. Now, fragmented sentences reveal half-truths and madness. A strange, soft glow emanates from the inscriptions, suggesting magical remnants linger.
- Monsters/Traps: An enchantment triggers a Whisper of Madness trap (Intelligence save or take 1d4 mental damage and become frightened).
- Treasures: A Crystal of Understanding that grants advantage on Insight checks if recovered from the ground.
3. Gelthran's Reliquary
This room is a vault filled with pedestals housing relics of the oracle. Each pedestal bears inscriptions of visions once given. A rotting tapestry hangs on the northern wall, depicting Gelthran with eyes like stars.
- Monsters/Traps: A Giant Mimic mimicking a relic pedestal.
- Treasures: A Vision Stone, which can cast augury once per day.
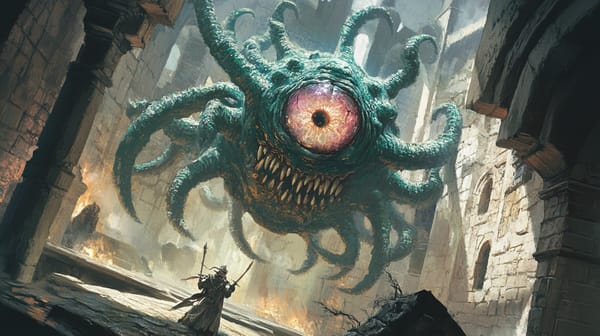
4. The Chamber of Eyes
The walls of this room are lined with hundreds of stone eyes staring unblinkingly from the surface. The eyes seem to follow the adventurers, creating an unsettling sensation. A crystal sphere rests in a central pool of stagnant water.
- Monsters/Traps: A Cacodemon lurks within the water, animated by its rage.
- Treasures: The crystal sphere is a Glimmering Eye, allowing the holder to see invisible creatures.
5. Sanctum of Resurgence
The atmosphere shifts suddenly as the party enters a domed chamber filled with faded murals depicting the cycles of life and death. Beckoning shadows flit through the air, revealing ghostly forms of past supplicants.
- Monsters/Traps: 3d6 Shadow Spirits that rise in defense of the sanctum.
- Treasures: An ancient Oracle's Grimoire which contains spells belonging to the Lost Arts.
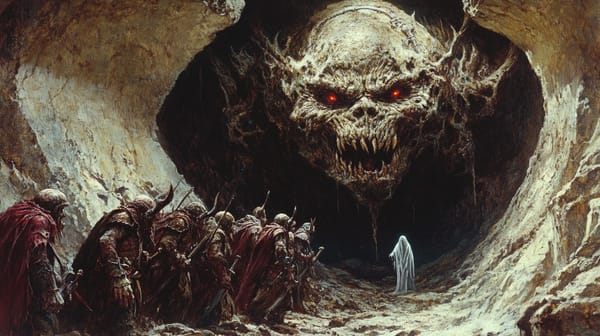
6. The Fateful Altar
At the heart of the sanctum lies a grand stone altar, its surface marred with dark stains. Symbolic carvings illustrate a celestial alignment. The air is thick with potent magic, and a faint vibration pulses from the stone.
- Monsters/Traps: The altar is guarded by Gelthran's Guardian (an animated construct created from negative energy).
- Treasures: A Talisman of Prophecy, providing the user with guidance on one critical decision or choice made.
7. Corridor of the Eldritch Watchers
This narrow corridor glows with ethereal light, illuminating murals of the stars. Flickering shadows hint at lurking dangers as the adventurers proceed carefully.
- Monsters/Traps: Stilted Shadows (two creatures that use stealth and ambush tactics).
- Treasures: An Ancient Star Map outlining possible treasures of the temple.
8. The Echoing Chamber
As the party steps into this circular chamber, their voices bounce back with eerie echoes. Jagged stone protrusions can be seen dulling the otherwise smooth walls, covered in intricate carvings of celestial bodies.
- Monsters/Traps: A Confounding Sigil Trap (making the party speak in riddles for one minute).
- Treasures: Celestial Echo, an amulet that echoes the last spoken words to reveal a hidden door.
9. Gloomshroud Cell
This dark cell was reserved for those deemed unworthy or heretical. The textures of damp stone imbue the room with a sense of despair, with remnants of chains that hint at the struggles of its occupants.
- Monsters/Traps: A Vengeful Spirit of a failed supplicant.
- Treasures: Shattered shackles upon one wall can become a Cursed Chain, siphoning some of the unfortunate's willpower.
10. Chamber of Revelations
This large octagonal chamber houses a massive, cracked mirror, once capable of visions into the future. Ghostly whispers echo off the walls, contemplating philosophical corners of fate and free will.
- Monsters/Traps: 2d4 Mirror Beasts, creatures that leap from the mirror’s surface.
- Treasures: The mirror shard is an Artifact of Seers, revealing visions when gazed upon.
Conclusion
The Abyssal Sanctum of Gelthran the All-Seer is a multi-faceted adventure, deeply rooted in rich lore begging for exploration. As a Game Master, utilize the dungeon's themes of fate and prophecy to connect it to overarching narratives. Consider integrating the cultists into broader stories in your campaign, perhaps involving a struggle for power amidst the resurgence of the ancient oracle's powers. To expand the dungeon's influence, consider introducing events triggered by adventurers’ choices within the Sanctum. A pivotal prophecy revealed could alter the course of a larger conflict in your world, creating engaging threads for players to explore further.